A Beginner's Method
to Solve The Cube
Basics
Solving the Cube
- Step 1: Bottom Edges
- Step 2: Bottom Corners
- Step 3: Middle Edges
- Step 4: Top Edges
- Step 5: Solve Edges
- Step 6: Position Corners
- Step 7: Solve Corners
- Done
Extras
Step 4: Solve Two Top Edges
|
Solve the 2 edge cubies |
|
Basic Idea
Use the Y-move to move edge cubies within and to and from the top layer. Prepare and restore the top layer with U-moves to move edge cubies into the work space of the Y-move.
In this step we just solve the two edge cubies 'in the back', away from the free work space. The remaining three edge cubies are those in our work space, which simplifies the next step, Step 5.
Details
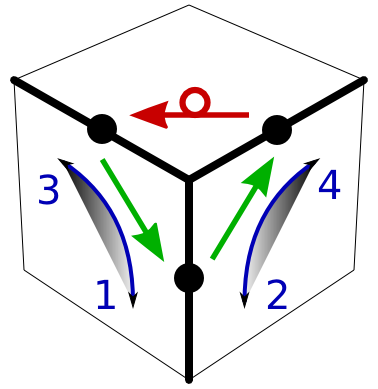
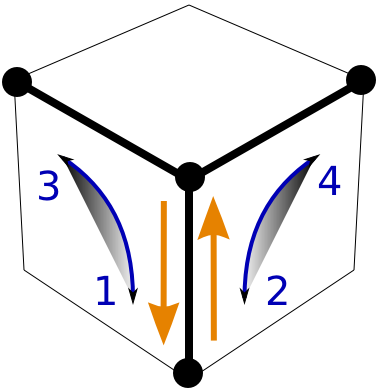
Step 4 is similar to solving the middle edges in Step3, except we do not turn the bottom layer prepare and restore with U-moves. Focus on one edge cubie, decide which neighboring edge you want to send it to, and decide whether to flip or not to flip it along the way. There will be one Y-move (with flip) or two Y-moves (without flip) that do the job. For example:
- Solve the blue-yellow edge cubie.
Use Yi to flip the yellow facelet
onto the top. Use Ui to align with
blue face. - Solve the red-yellow edge cubie.
Prepare with Ui.
Use Y to move with flip (left).
Use Y sideways to move without flip (right).
Restore with Ui.Comments
Sometimes an edge cubie is solved, but we may have to move it since it blocks the Y-move that we need to do for the back cubies. For example:
Examples of solved edgies that
we cannot use yet. We just ignore
them and do our job.Alternatives
There are not really any big alternatives to suggest, because moving edges around with minimal effect on other cubies is what the Y-move is made for. However, see the discussion of swaps at the end of Step 5.